Wednesday, February 26, 2014

Some Part Restorations

Fresh air vent drain pans:

The car has little slats in the body just in front of the windshield to let fresh air into the cab.  The drain pans underneath are notorious for rusting completely away, luckily mine were salvageable.


 Before


Stripped


Painted


Reassembled with new seals.


Finished


Wiper Motor:
This thing was looking pretty rough.


Even though no one will ever see it again, it still had to be restored.


Tuesday, February 25, 2014

Interior Gem

Spring 2013:

I'll try to make a long story short.  I wanted to hang a tachometer beneath the planned radio dashboard extension, but didn't want an off-the-shelf eyesore which wouldn't fit the interior.  It needed to be something period correct, that suited the car, and preferably was quite large.  After scouring the Internet for after market options with complete disappointment, I decided to go custom.  Of all the instrument panel intended Tachs I looked at from 50's and 60's cars my favorite was a Veigel Tach out of a 1952 Porsche 356.  Though it's intended to be a cable driven instrument, there was a rare electronic conversion kit made for a brief period of time.  So, my intent was to locate and buy this rare Tach, restore it, and do an electronic conversion.  Despite how expensive this plan was, I was absolutely determined.  Luckily, one of the first places I called to try and locate one (after coming up empty handed on the web) was North Hollywood Speedometer, a European classic instrument restoration shop.  After describing what I was after, the German old timer on the phone said he could build a handmade replica for less than the cost of an old dilapidated original!!!  Though this wasn't exactly cheap either, it would be hand made, and have modern electrics.   Jackpot!!

This is the model.


 After having the gauge made, I turned to figuring out a mounting system.  It would have to be custom; also hand made.  I drew up some sketches and contacted Chris Coddington who had in the mean time been working on a set of custom wheels for the project (which I'll post about later).  Chris pointed me at a machinest by the name of Mike Burgess, near Orange, CA.  Mike is an independent machinist who takes odd jobs out of his garage when his interest is peaked.  After meeting with Mike and going over some details, I knew he was the man for the job.    

First Sketch


What Mike created after tweaking my original plans (BRILLIANT!!).


 All painted up, it looks awesome!!  Mike,, if you ever have a look here, thanks for an amazing piece!!  This thing is sure to be the subject of many conversations.  Thanks again!!


Monday, February 24, 2014

Details

Fall 2012: First batch of parts back from plating at Ogden Chrome, Utah.


Trunk Striker


Hood Striker


Door Strikers


Hood Latch


Everything triple plated for a show worthy finish.  Ogden does fine work!!

 Below are the rear reflectors which (once installed) are recessed into chrome trim which mounts below the tail lights.  Originally they have an unfinished pot-metal bezel which I think looks pretty weak.  So, I popped the bezels, powder coated them gloss black, and re-chromed the trim for a unique look which flows with the rest of the car.


Original steer wheel restored by Kotch's.


 All reassembled and looking better than new. 


Thursday, February 20, 2014

Working Out Suspension Details

Fall 2012


Rear suspension housing powder coated gloss grey.  Transaxle compartment and wheel wells will be semi-gloss tectured black.  Should end up looking pretty slick under Aquamarine Blue #VW Type 3.
  

Installing for a pre-paint ride height and wheel fitment check.


Urethane bushings required a lot of grinding and sanding for the perfect fit.  Everything has to work just right!!


Atomwerk 1" drop plates on the back to hopefully achieve the perfect ride height.


Custom 2" drop spindles by Russ at Old Speed in Paramount, CA combined with another 1.5" spline drop should bring the front end nice and low, give the car a little rake, and keep a comfortable ride.   

Summer 2012: Tear Down Continues

My big bro over to give me a hand with some heavy lifting (thanks for the pictures Stace!).
Good weather, beers and a project, Awesome!!


Rear torsion housing & XMSN out.


Headliner removed

Interior completely deconstructed


Front suspension and brake components all looking pretty rough.  


Everything needs replacement/restoration


Wednesday, February 19, 2014

Summer 2012: Beginnings

Some pics of what I'm starting out with:


 Inside rear trunk: Luggage tray speaker holes to be filled at Paint & Body


Luggage tray interior.


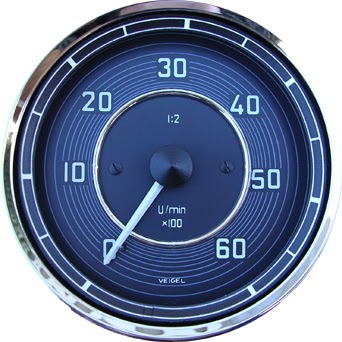
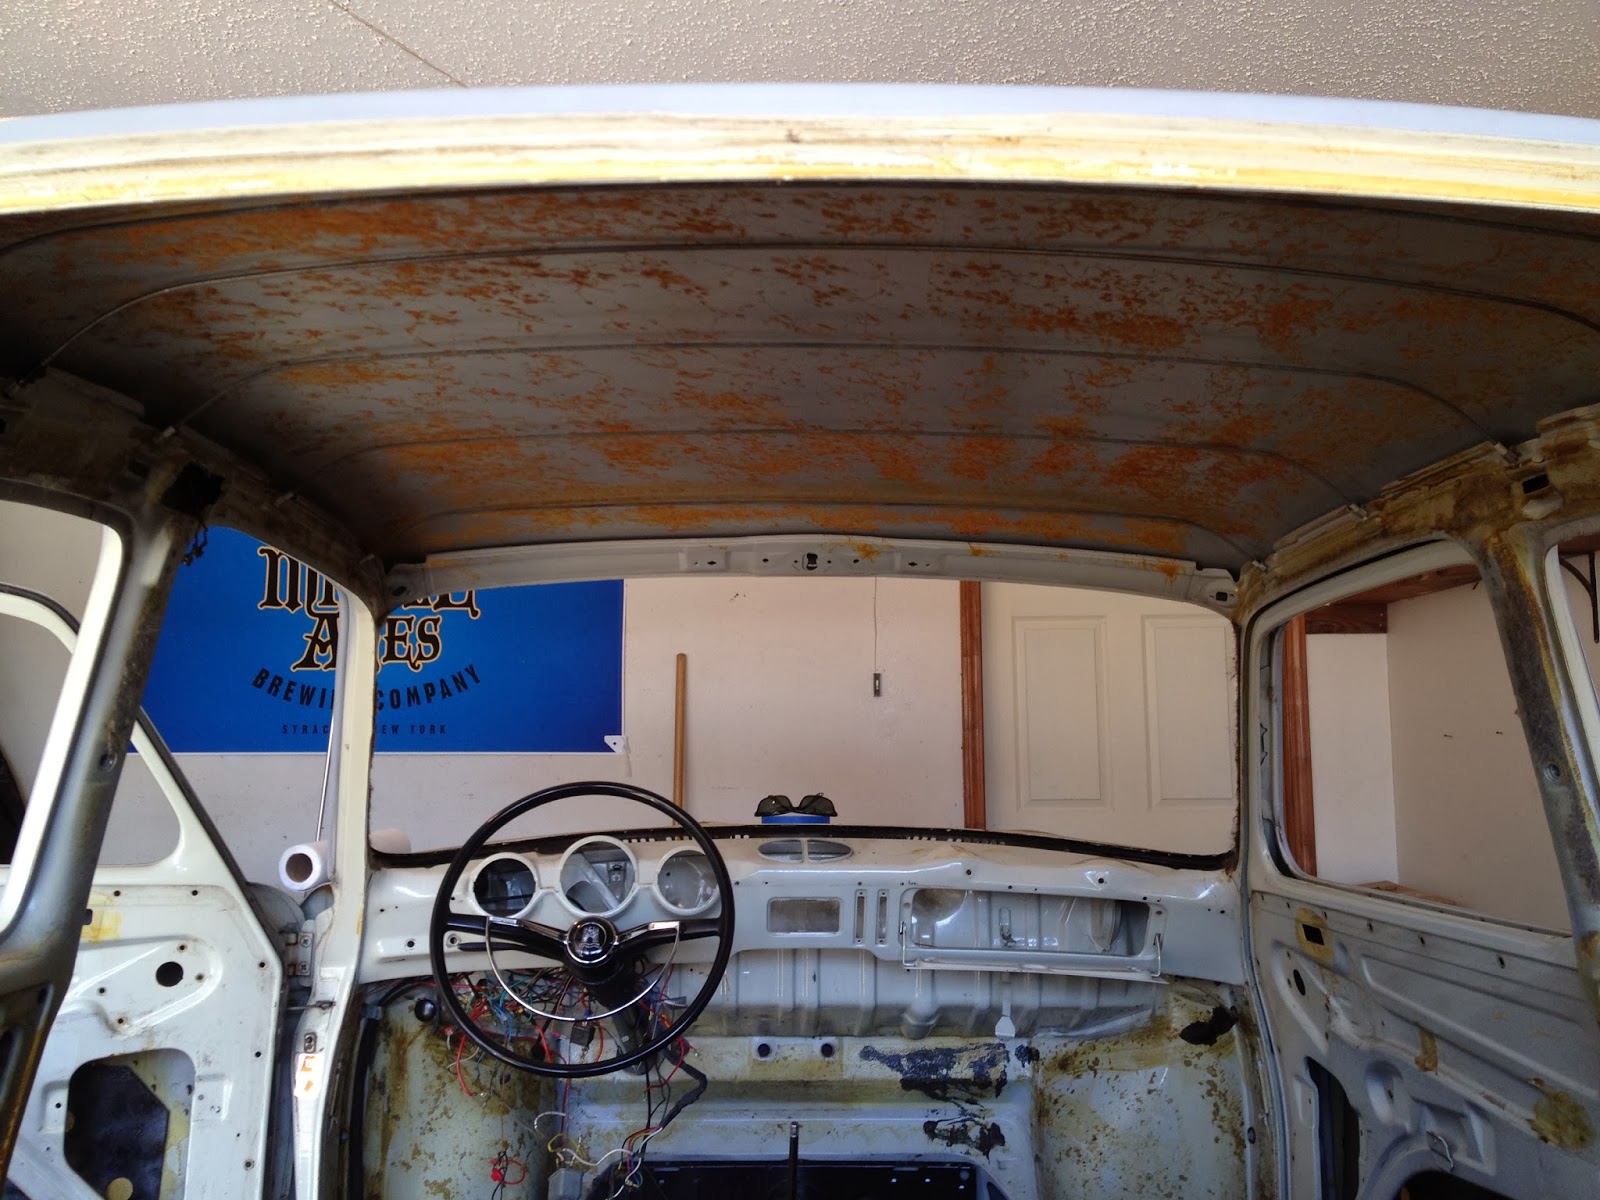
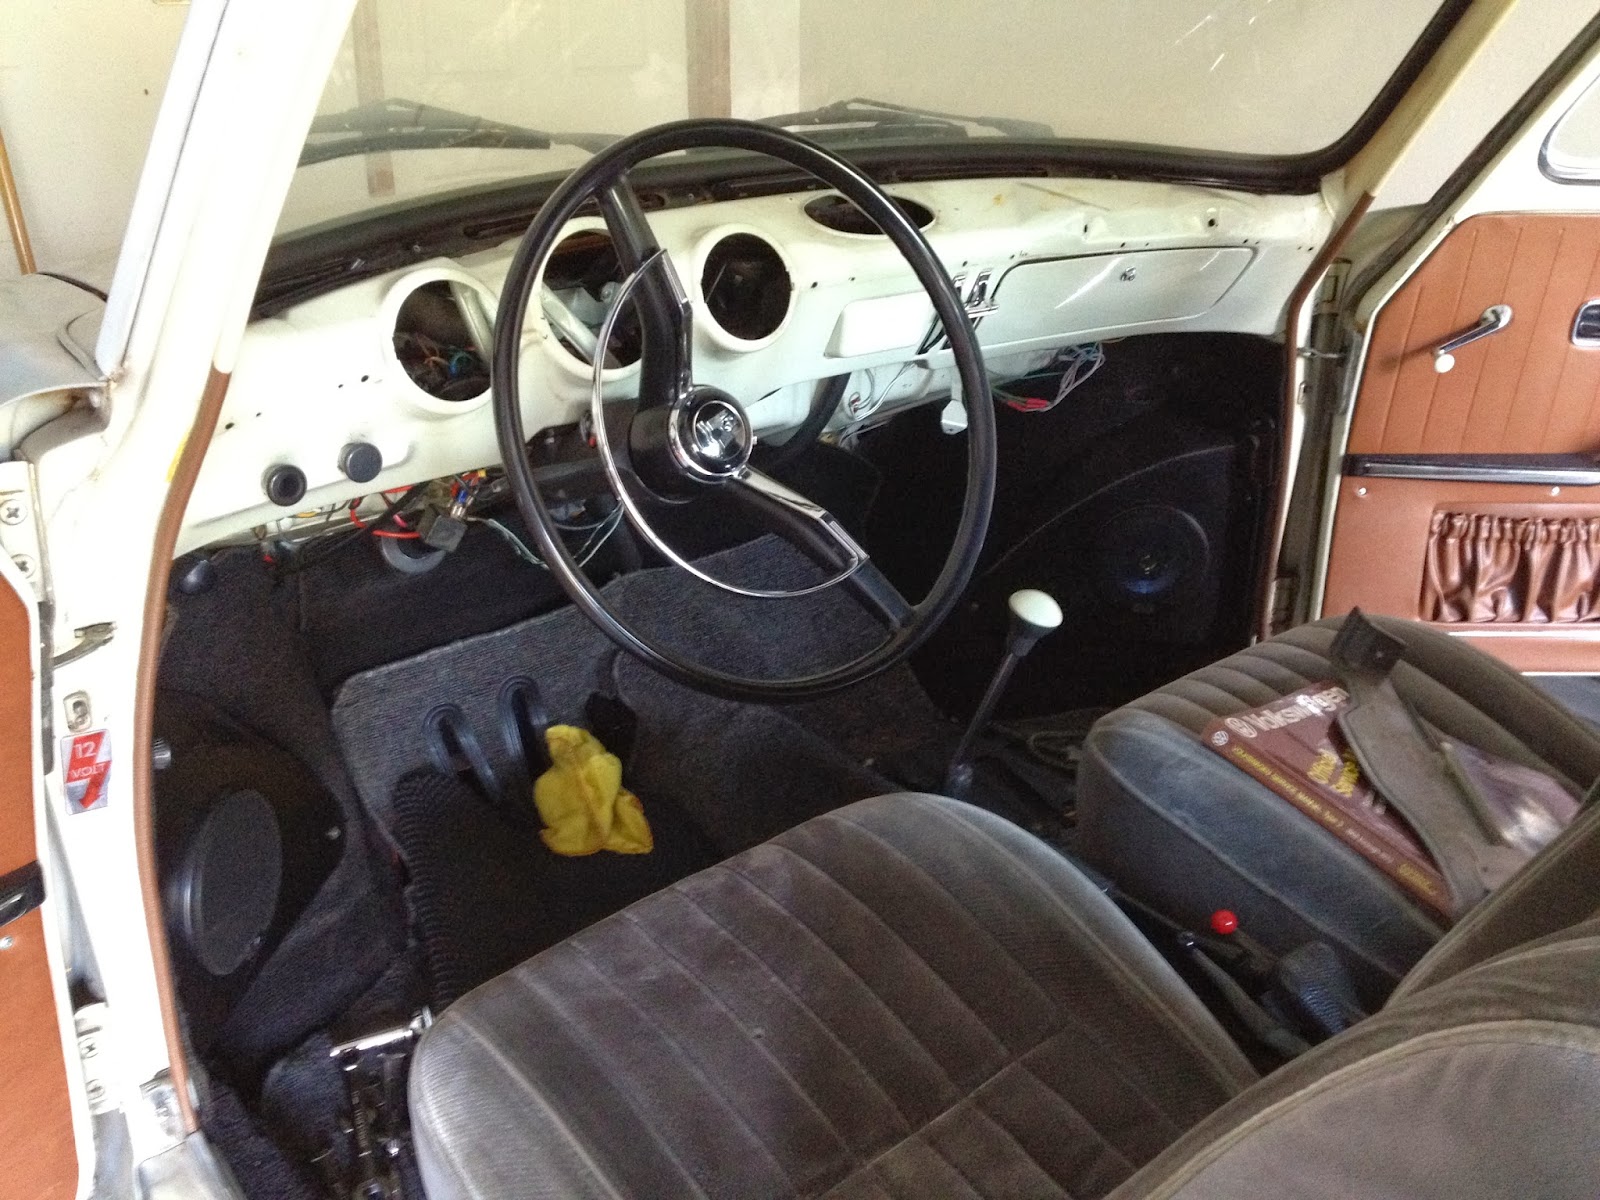
Interior with dash already disassembled.  Instruments are with Hollywood Speedo for a re-fresh.


90's era sports car seats were in the car when I bought it.  Though installation was a hack job, they worked out great since I'm too tall to fit in the car with stock seats.  Pan mods are in store to fit the car with 64 Karmann Ghia low backs.  


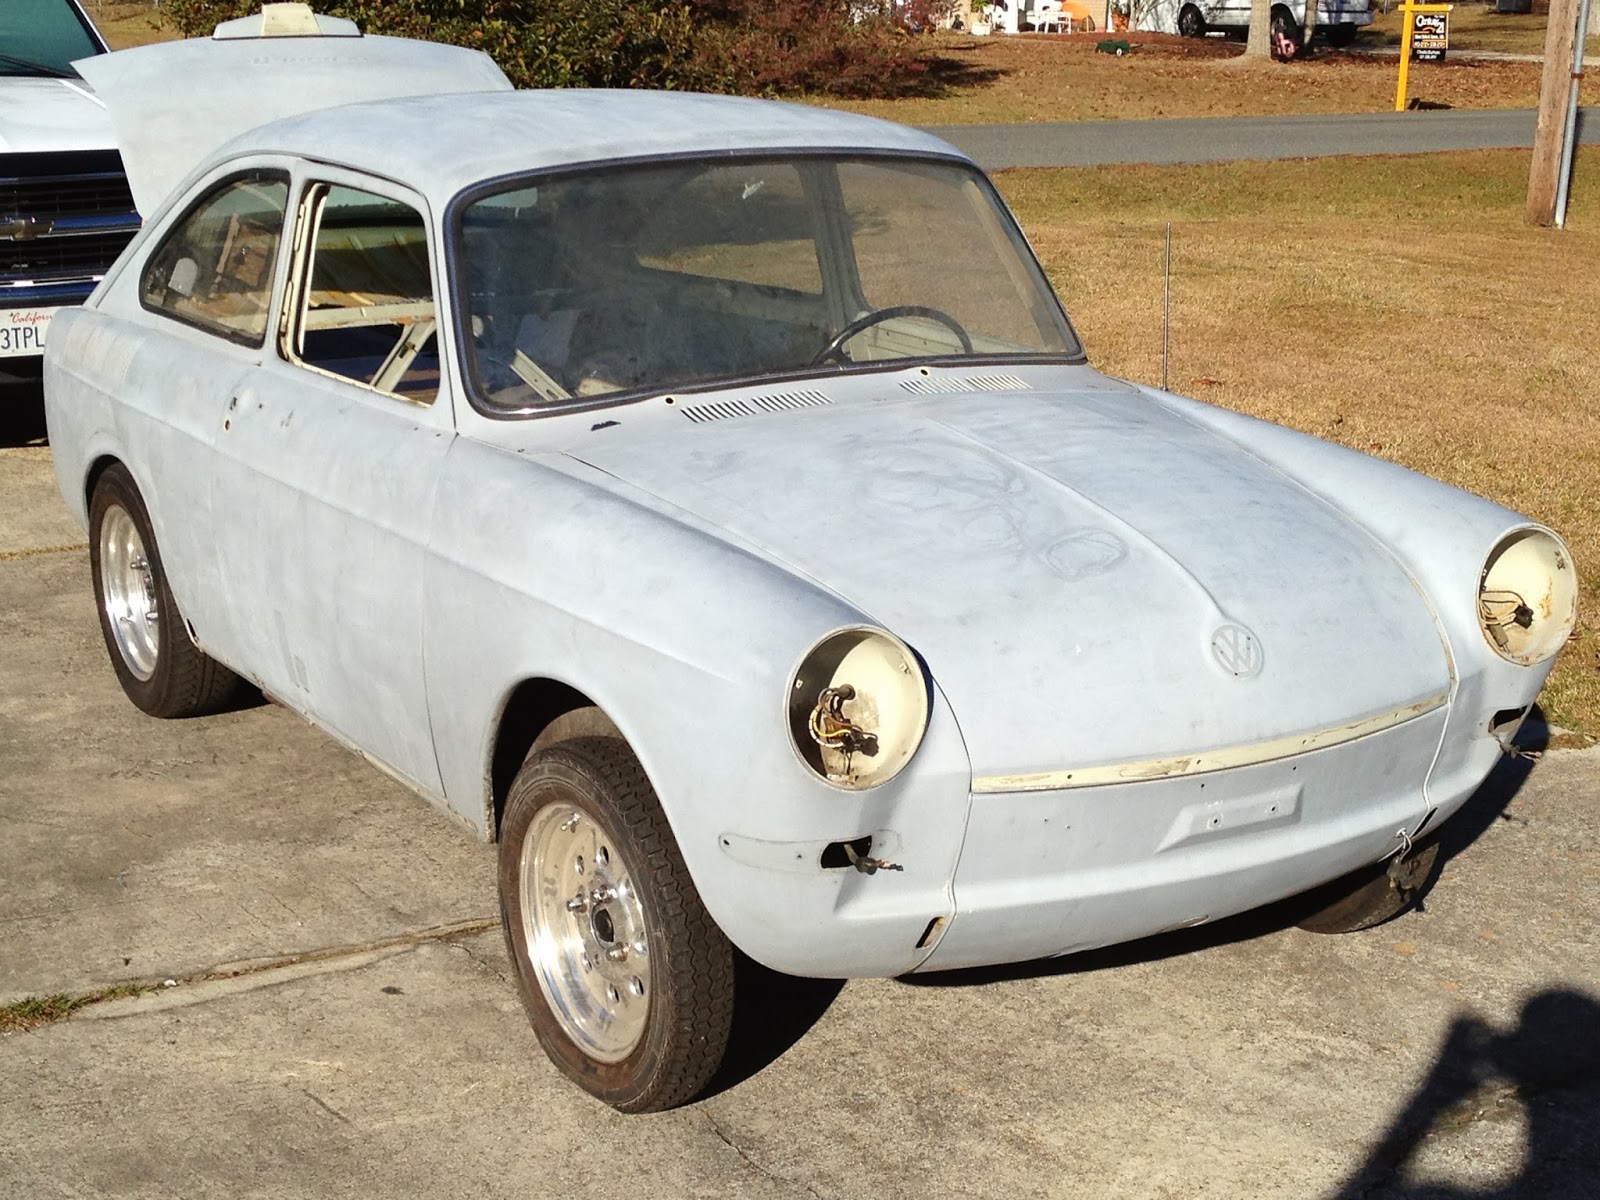
Under 1 coat of rattle can primer is the stock paint.


Body is pretty rough, lots of dents and different ages of bondo, but pretty much rust free.


Disassembly in full swing, pushed out in the sun for some decent "before" pics.


Engine out, compartment in 48 year old shape.


Rear of engine compartment (intake plenum).


Rear skirt is in really rough shape from having various aftermarket exhaust systems installed improperly.

.


Worst rust is found in the floor pan just behind the driver's seat.  Still no big deal though, no cutting will be necessary.


 One of many pages of notes!